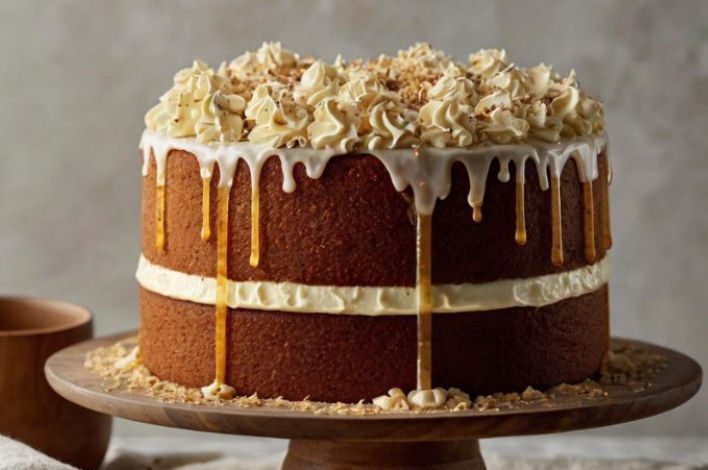
The Ultimate Bassoon Cake Recipe

In the world of creative baking, inspiration can come from the most unexpected places. One such unique inspiration is the bassoon, a woodwind instrument known for its deep, rich tones. If you’re a music enthusiast or simply looking to impress guests with an extraordinary cake, this bassoon cake recipe is for you. Combining the art of baking with a passion for music, this cake is designed to resemble a bassoon, making it a showstopper at any event.
Ingredients for the Bassoon Cake
Creating a bassoon cake requires both standard cake ingredients and a few special items to achieve the desired look. Here’s a comprehensive list of what you’ll need:
Cake Ingredients:
- 3 cups all-purpose flour
- 2 1/2 cups granulated sugar
- 1 cup unsalted butter, at room temperature
- 1 cup whole milk
- 4 large eggs
- 1 tablespoon baking powder
- 1/2 teaspoon salt
- 2 teaspoons vanilla extract
- 1/2 cup cocoa powder (for chocolate cake variation)
Frosting Ingredients:
- 2 cups unsalted butter, at room temperature
- 6 cups powdered sugar
- 1/4 cup heavy cream
- 2 teaspoons vanilla extract
- Food coloring (brown and black)
Decorative Items:
- Fondant (brown, black, and silver)
- Edible gold paint
- Edible glue
- Piping gel
Step-by-Step Instructions
1. Preparing the Cake Batter
- Preheat and Prep: Preheat your oven to 350°F (175°C). Grease and flour three 9-inch round cake pans.
- Cream the Butter and Sugar: In a large mixing bowl, beat the butter and sugar together until light and fluffy, about 5 minutes.
- Add Eggs and Vanilla: Add the eggs one at a time, beating well after each addition. Stir in the vanilla extract.
- Combine Dry Ingredients: In a separate bowl, whisk together the flour, baking powder, and salt.
- Alternate Mixing: Gradually add the dry ingredients to the butter mixture, alternating with the milk, beginning and ending with the flour mixture. Mix until just combined. If making a chocolate bassoon cake, incorporate the cocoa powder with the dry ingredients.
- Bake the Cakes: Divide the batter evenly among the prepared pans and bake for 25-30 minutes, or until a toothpick inserted into the center comes out clean. Allow the cakes to cool in the pans for 10 minutes, then turn them out onto wire racks to cool completely.
2. Making the Frosting
- Beat the Butter: In a large mixing bowl, beat the butter until creamy.
- Add Powdered Sugar: Gradually add the powdered sugar, one cup at a time, beating well after each addition.
- Add Vanilla and Cream: Beat in the vanilla extract and heavy cream until smooth and fluffy. If the frosting is too thick, add a little more cream; if too thin, add more powdered sugar.
- Color the Frosting: Divide the frosting into two portions. Color one portion brown for the main body of the bassoon and the other portion black for the details and keys.
3. Assembling the Bassoon Cake
- Level the Cakes: Once the cakes are completely cool, use a serrated knife to level the tops if necessary.
- Layer and Frost: Place one cake layer on your serving platter. Spread a layer of frosting over the top. Repeat with the second and third layers.
- Crumb Coat: Apply a thin layer of brown frosting over the entire cake to seal in the crumbs. Chill the cake for 30 minutes to set the crumb coat.
- Final Frosting: Apply a thicker layer of brown frosting over the crumb coat, smoothing it with an offset spatula.
4. Decorating the Bassoon Cake
- Shape the Cake: Carve the cake into the shape of a bassoon, tapering one end to resemble the instrument’s bell.
- Fondant Covering: Roll out the brown fondant and cover the cake, smoothing it down to remove any air bubbles. Trim the excess fondant at the base.
- Add Details: Use black fondant to create the keys and other details of the bassoon. Attach them to the cake using edible glue.
- Edible Paint: Use edible gold paint to add accents and realistic touches to the keys and other parts of the bassoon.
- Finishing Touches: Use piping gel to add any final details or shine to the cake.
5. Serving and Enjoying Your Bassoon Cake
- Cut and Serve: When it’s time to serve, use a sharp knife to cut through the fondant and cake layers.
- Storage: Store any leftover cake in an airtight container at room temperature for up to three days or in the refrigerator for up to a week.
Tips for a Perfect Bassoon Cake
Choosing the Right Tools
Having the right tools can make a significant difference in your cake decorating experience. Invest in quality cake pans, fondant smoothers, and carving knives to achieve a professional look.
Practicing Fondant Techniques
Working with fondant can be tricky, especially for beginners. Practice rolling, cutting, and smoothing fondant on a small piece of cake or a dummy cake before tackling the bassoon cake.
Customizing Your Cake
Feel free to customize your bassoon cake with different flavors, colors, or additional decorations. You can incorporate your favorite cake recipe or add personal touches that reflect your musical journey.
Creating a bassoon cake is an exciting challenge that combines the art of baking with musical passion. This detailed guide provides you with all the steps and tips needed to craft a stunning cake that looks just like a bassoon. Whether for a musician’s birthday, a music-themed party, or a special celebration, this cake is sure to impress and delight your guests. So, gather your ingredients, prepare your tools, and get ready to create a masterpiece that’s not only a treat for the taste buds but also a feast for the eyes. Happy baking!
