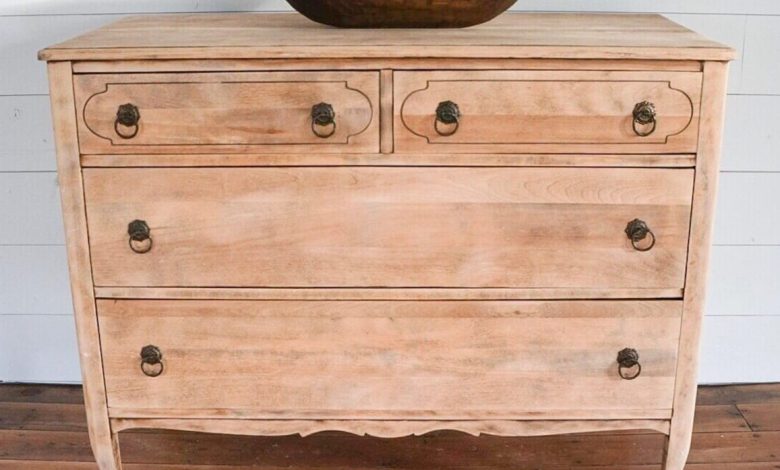
Refinishing Furniture for Beginners

Refinishing furniture can be a rewarding and cost-effective way to revamp your home décor. Whether you have an antique dressing table that needs new life, a wooden chair yearning for a refresh, or you simply want to personalize a piece to suit your style, learning the basics of furniture refinishing can help you achieve marvelous results. In this comprehensive guide, we will explore every essential step of the refinishing process, providing you with the confidence and knowledge to start your first project.
Understanding the Basics
Refinishing furniture involves restoring or enhancing the appearance of a piece. This can include stripping old paint or varnish, repairing structural issues, sanding, staining, or painting, and applying a protective finish. The goal is to transform furniture so it looks either restored to its original condition or updated in a way that fits your aesthetic.
Why Refinish Furniture?
Refinishing furniture has several benefits. It is environmentally friendly as it promotes recycling and upcycling items instead of discarding them. Additionally, it allows for creative freedom, enabling you to customize pieces to your style and preferences. Financially, it is often cheaper than buying new furniture, especially if you own solid wood pieces or valuable antiques. Finally, it can be an enjoyable and therapeutic DIY project that enhances your crafting skills.
Choosing the Right Piece
Before jumping into your first project, select the right piece to start with. Beginners should choose a simple piece with minimal detailing, such as a small table or a wooden chair. Inspect the item carefully to ensure it is structurally sound. Pieces with extensive damage might require more advanced skills than a beginner possesses.
Preparing for the Project
Proper preparation is key to a successful refinishing job. Here are the steps you need to take:
Gathering Tools and Materials
The tools and materials required can vary depending on the specifics of your project, but for beginners, it typically involves:
- Sandpaper of various grits (coarse to fine)
- Chemical wood stripper (if needed)
- Paintbrushes or sponge brushes
- Clean rags or tack cloth
- Protective gear (gloves, mask, and goggles)
- Stain or paint
- Sealant or clear protective finish
Setting Up Your Workspace
Choose a well-ventilated area to work in, such as a garage or a workspace with open windows. Make sure the area is free from dust and dirt that may settle on your project during drying. Lay down a tarp or drop cloth to protect your floors.
Starting the Refinishing Process
Once you have your tools and workspace ready, it’s time to begin.
Stripping Old Finish
If the piece is painted or finished with an old varnish, you may need to use a chemical stripper. Follow the manufacturer’s instructions and use protective gear to avoid any chemical burns or inhalation. Be patient and thorough in removing the old finish, as this will form the basis for a smooth final appearance.
Sanding
Sanding is a crucial step in furniture refinishing. It helps remove any remaining old finish, smoothens the surface, and prepares it for new paint or stain. Start with coarse-grit sandpaper to remove old layers, moving progressively to finer grits to achieve a smooth finish. Always sand in the direction of the wood grain to avoid scratches.
Applying Stain or Paint
Once the piece is stripped and sanded, you can apply your choice of finish. Deciding between stain and paint depends on the final look you want:
Staining
Staining is ideal if you want to showcase the wood’s natural beauty. Apply the stain with a brush or cloth, working along the grain. Allow it to penetrate the wood for the time recommended by the manufacturer, and then wipe off the excess with a clean rag. Multiple coats can be applied for a deeper color, with light sanding between coats.
Painting
Painting offers more color choices and is excellent for adding bold styles. Use a primer first if the wood was previously finished or if you are using colors significantly lighter than the original wood. Apply thin layers of paint with a brush or roller, allowing each coat to dry completely before the next.
Sealing and Finishing
The final step is applying a protective coat. This seals the wood, protecting it from damage and enhancing its appearance. Options include:
Polyurethane
Polyurethane provides a durable, water-resistant finish and is available in various sheens from matte to glossy. Apply it with a brush, ensuring even coverage. Multiple coats may be necessary, with light sanding between them.
Wax
Wax offers a soft sheen and is easy to apply. It is suitable for pieces that don’t require heavy-duty protection. Use a clean cloth to rub the wax into the wood in a circular motion, waiting for it to harden before buffing to a sheen.
Caring for Your Finished Piece
Proper care extends the life of your refinished furniture. Avoid placing hot items or wet glasses directly on the surface to prevent rings or damage. Regularly dust and clean with a soft, damp cloth. For waxed surfaces, a periodic reapplication of wax may be necessary.
Conclusion
Refinishing furniture is an accessible and gratifying project for beginners. With patience and attention to detail, you can bring vintage pieces back to life or imbue your furniture with a unique touch. Whether you choose to stain or paint, the ability to customize your surroundings will reward your efforts with beautifully transformed furniture pieces. Embrace the process, and enjoy the immense satisfaction that comes from creating something both useful and personal.
